How to Replace a Kitchen Sink: A Step-by-Step Guide
Whether you’re fixing a leaky faucet or re-doing your kitchen cabinets, any home improvement project can seem daunting. But with the right tools and a bit of know-how, you can easily tackle even the most complex projects.
In this guide, we’ll walk you through the steps of installing a new sink in your kitchen. We’ll cover everything from measuring and marking the cabinet to drilling the holes and attaching the new sink. By the end of this guide, you’ll have a brand new sink that will serve you well for years to come.
Tools & Materials
– Tape measure
– Level
– Drill
– 1/8″ drill bit
– Jigsaw
– Screwdriver
– Hammer
– Safety glasses
– Dust mask
– New sink
– Silicone sealant
Step 1: Measure and Mark the Cabinet
Before you do anything, take precise measurements of your cabinet. You’ll need to know the width, depth, and height of the cabinet in order to select the right size sink. Get out your tape measure and determine the dimensions of your cabinet. Once you have the measurements, mark the center of the cabinet with a pencil. This will be the point where you’ll drill the holes for the faucet and drain. With the center marked, you’re ready to move on to step two.
Step 2: Drill the Holes
Now that you’ve located the studs and marked the spots where you’ll drill, it’s time to get out the drill. You’ll want to use a drill bit that’s the same size as your sink’s mounting hardware. That way, the holes you drill will be just the right size for a snug fit. To drill the holes, simply hold the drill steady and let the bit do the work. As you drill, keep an eye on your progress and make sure that you’re drilling at a consistent depth. Once you’ve drilled through both sides of the cabinet, you’re ready to move on to Step 3.
Step 3: Cut Out the Cabinet
Now that you’ve drawn your lines and double-checked your measurements, it’s time to cut out the cabinet. Use a jigsaw to follow the lines you drew in Step 1. Make sure to wear safety glasses and a dust mask while cutting; sawdust can be nasty stuff, and you don’t want it in your eyes or lungs. Also, be careful not to cut yourself! Once you’re done cutting, use sandpaper to smooth out any rough edges. And that’s it—Step 3 is complete! Congratulations, you’re one step closer to having a beautiful new kitchen.
Step 4: Attach the Sink
The next step is to attach the sink. First, place it upside down on a towel or piece of cardboard. This will make it easier to apply the silicone sealant evenly. Next, apply a generous amount of silicone sealant to the underside of the sink. Once you have a good layer, carefully lower the sink into the hole and press it down so that the sealant makes good contact with the sides of the hole. If you’re happy with the position of the sink, leave it to sit for 24 hours before moving on to Step 5.
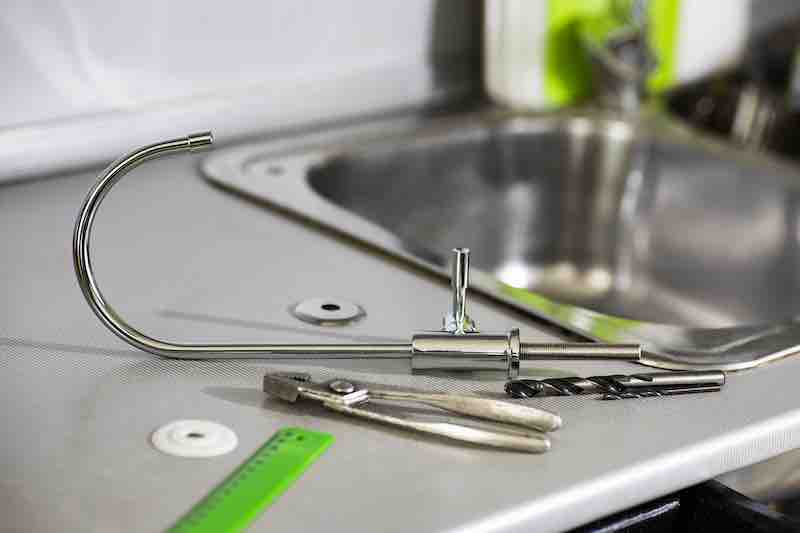
Step 5: Attach the Faucet
With the holes drilled and the sink in place, it’s time to attach the faucet. Begin by threading the supply lines through the holes in the sink. Next, using a screwdriver, attach the faucet to the holes that you drilled in Step 2. Make sure that the faucet is level and secure before moving on. Once the faucet is attached, you can finish attaching the supply lines and connect them to the water supply. With that, your new faucet will be up and running in no time.
Step 6: Connect the Plumbing
The final step in installing your new kitchen faucet is to connect the plumbing. Depending on the model you chose, this may involve attaching supply lines to the hot and cold water valves, as well as connecting the drain line to the sink drain. Once everything is connected, it’s time to turn on the water supply and check for leaks. If all is well, enjoy your new faucet! And if you run into any trouble, don’t hesitate to call a plumber.
Step 7: Enjoy Your New Sink!
Now that you’ve replaced your old, outdated kitchen sink with a shiny new one, it’s time to sit back and enjoy the fruits of your labor. Your new sink is sure to make meal prep a breeze, and cleanup will be a snap. Plus, you can take pride in knowing that you did the job yourself.
Wrapping Up How to Replace a Kitchen Sink
Whether you’re replacing an old sink or installing a new one, the process is fairly straightforward. Just be sure to take your time, measure twice, and cut once. With a little patience and attention to detail, you’ll have your new sink installed in no time. And once it’s in place, you can sit back and enjoy your handiwork for years to come. …